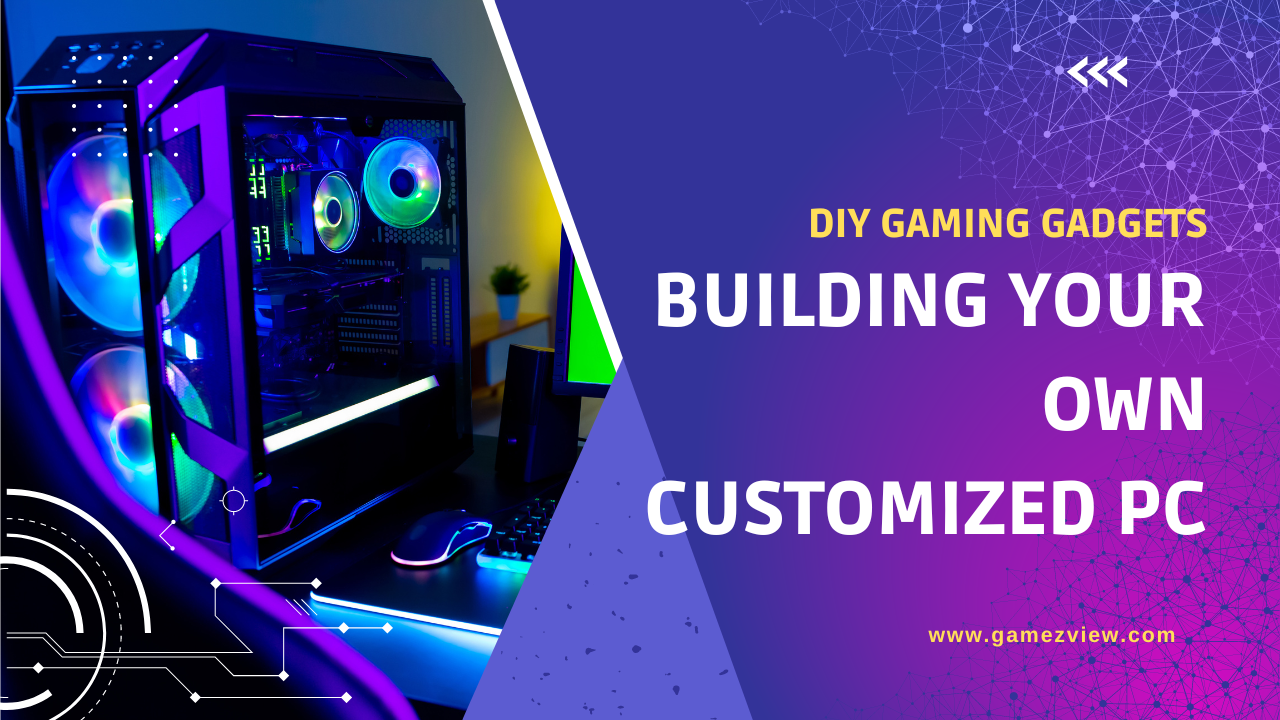
In the ever-evolving world of gaming, enthusiasts and professionals alike are turning to DIY gaming PCs to get the most out of their gaming experiences. Custom-built PCs offer a level of performance, flexibility, and personalization that pre-built systems simply can’t match. Whether you’re a seasoned builder or a newcomer to the DIY scene, creating your customized gaming rig can be a highly rewarding endeavour. In this comprehensive guide, we will delve into the intricate details of building your DIY gaming PC, covering everything from component selection to assembly, and beyond.
Benefits of Building Your Gaming PC
1. Enhanced Performance and Customization
One of the most significant advantages of building your gaming PC is the freedom to choose components that suit your specific needs. You can select high-end graphics cards, processors, and memory to ensure optimal performance for the latest games. This level of customization allows for a tailored gaming experience, whether you are into fast-paced shooters, expansive open-world adventures, or graphically intensive simulations.
2. Cost Efficiency
Contrary to popular belief, building your gaming PC can be more cost-effective than purchasing a pre-built system. By carefully selecting components and avoiding unnecessary extras, you can save money and allocate your budget towards critical areas like a powerful GPU or a high-quality monitor. Moreover, building your PC allows you to avoid the markup prices often associated with pre-built systems.
3. Future-Proofing and Upgradability
A DIY gaming PC offers unparalleled upgradability. As new technologies emerge, you can easily swap out components to keep your system up-to-date. This future-proofing aspect ensures that your gaming rig can handle new games and software for years to come, making it a long-term investment in your gaming setup.
Essential Components for a DIY Gaming PC
1. Central Processing Unit (CPU)
The CPU is the heart of your gaming PC, responsible for executing instructions and processing data. When choosing a CPU, consider factors like core count, clock speed, and thermal design power (TDP). For gaming, a CPU with a high clock speed and multiple cores, such as the Intel Core i9 or AMD Ryzen 9, is ideal.
2. Graphics Processing Unit (GPU)
The GPU is arguably the most critical component for gaming performance. It handles rendering graphics and affects the overall visual quality and frame rates. High-end GPUs like the NVIDIA GeForce RTX 3080 or the AMD Radeon RX 6800 XT provide excellent performance for 4K gaming and VR experiences. Ensure that the GPU you choose is compatible with your monitor’s resolution and refresh rate.
3. Memory (RAM)
RAM plays a crucial role in ensuring smooth gameplay and quick load times. For modern gaming, a minimum of 16GB of DDR4 RAM is recommended, though 32GB offers more breathing room for multitasking and future-proofing. Consider RAM with higher speeds, such as 3200MHz or more, to maximize performance.
4. Storage Solutions
Storage options for gaming PCs typically include Solid State Drives (SSDs) and Hard Disk Drives (HDDs). An SSD, particularly an NVMe M.2 SSD, offers faster load times and boot speeds compared to traditional HDDs. A 500GB or 1TB SSD is ideal for the operating system and frequently played games, while a larger HDD can be used for additional storage.
5. Motherboard
The motherboard is the backbone of your PC, connecting all components and allowing them to communicate. When selecting a motherboard, ensure it is compatible with your CPU and offers the necessary features, such as PCIe slots, USB ports, and RAM slots. Consider motherboards from reputable brands like ASUS or MSI.
6. Power Supply Unit (PSU)
A reliable PSU is essential for powering your gaming PC. Choose a PSU with sufficient wattage to support all components, ideally with an 80 Plus certification for efficiency. Modular PSUs are a great choice for easier cable management and a cleaner build.
7. Cooling Solutions
Effective cooling is crucial for maintaining performance and extending the lifespan of your components. Air cooling with high-quality heat sinks and fans or liquid cooling systems can keep your CPU and GPU temperatures in check. Ensure your case has adequate airflow and consider additional fans for better heat dissipation.
8. Gaming Case
The case you choose should offer enough space for your components and good airflow. Cases with tempered glass panels and RGB lighting can add a personal touch to your build. Consider cases from brands like NZXT or Corsair for quality and aesthetics.
Building Your Gaming PC: A Step-by-Step Guide
1. Preparation and Safety
Before you begin building, gather all your components and tools. Ensure you are working in a static-free environment to avoid damaging sensitive parts. Ground yourself by touching a metal object or wearing an anti-static wristband.
2. Installing the CPU and RAM
Start by installing the CPU into the motherboard. Open the CPU socket, align the CPU with the socket, and gently place it in. Secure it with the retention arm. Next, insert the RAM sticks into the designated slots, ensuring they click into place.
3. Mounting the Motherboard and Storage
Place the motherboard into the case, aligning it with the standoff screws, and secure it. Install the SSD and HDD in their respective bays or slots, connecting them to the motherboard via SATA cables or directly into the M.2 slot.
4. Installing the GPU and PSU
Insert the GPU into the PCIe slot on the motherboard and secure it with screws. Install the PSU in its designated area and connect the necessary power cables to the motherboard, GPU, and storage devices.
5. Cable Management and Cooling
Connect all necessary power and data cables, ensuring a neat arrangement to promote airflow. Install your cooling solution, whether it’s a CPU cooler or a liquid cooling system, and attach any additional case fans for optimal cooling.
6. Testing and Troubleshooting
Before closing the case, connect your PC to a monitor and keyboard. Power it on to check for any issues. If the PC doesn’t boot, recheck your connections and ensure all components are properly seated.
7. Installing the Operating System and Drivers
Once your PC successfully boots, install your preferred operating system, such as Windows 10 or Linux. After the OS installation, download and install the latest drivers for your components to ensure optimal performance.
Optimizing Your DIY Gaming PC for Maximum Performance
1. Overclocking
Overclocking your CPU and GPU can boost performance, allowing you to get more out of your components. Use software like MSI Afterburner or CPU-Z to safely increase clock speeds. Monitor temperatures closely to avoid overheating.
2. Regular Maintenance
Regularly clean your PC to remove dust and debris that can impede airflow and cooling. Ensure that your drivers and operating system are up-to-date to benefit from the latest performance optimizations and security patches.
3. Performance Monitoring
Use tools like HWMonitor or Speccy to keep track of your PC’s temperatures, voltages, and load levels. Monitoring performance helps you identify and address potential issues before they become serious problems.
The Joy of Building Your Gaming PC
Building your DIY gaming PC is not just about achieving superior performance; it’s a rewarding experience that gives you a deep understanding of your hardware. From selecting components to customizing your setup, every step is a chance to create a machine that reflects your gaming style and preferences. Embrace the journey and enjoy the unparalleled satisfaction of gaming on a system that you built with your own hands.